Picking a monitor for the Mac Studio: my thoughts (2023)
Introduction
I've been looking for a good monitor to pair with my Mac Studio. With a myriad of options in the market, it's easy to get lost in a sea of specs and marketing jargon. Determining the right balance between resolution, size, refresh rates, and cost is key to maximizing both productivity and comfort. I've spent hours poring over forums, reading reviews, and comparing models to find that sweet spot. In this article, I'll share the insights I've gathered to help you navigate these choices for your own setup.
Determining the Right Resolution and Size for Productivity and Comfort
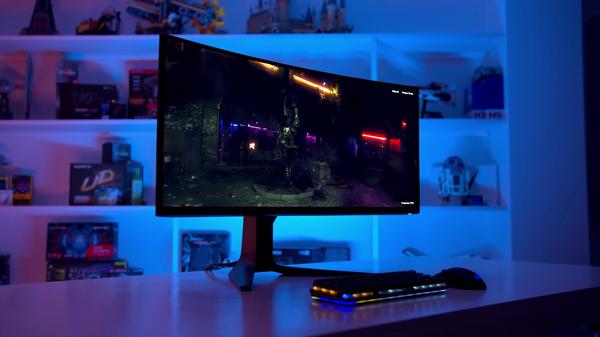
When selecting the ideal monitor for my Mac Studio setup, I've scoured forums, product reviews, and specs sheets to strike a balance between resolution, size, and productivity. This has led me to a few key takeaways that I'd like to share:
image- Higher Resolution: "monitors-17"
Monitor Size: Size does matter, but bigger isn't always better. I've found that scaling issues can arise with larger monitors if the resolution isn't high enough to support it. A 32-inch monitor sounds great, but at 4K, I sometimes notice a slight degradation in sharpness due to scaling, compared to the pristine clarity of a 27-inch 5K display.
Productivity and Multi-Tasking: For coding or multitasking, where real estate is crucial, I lean towards ultrawide or multi-monitor setups. However, these come with their own issues, like needing to turn your head more often, which can introduce neck strain.
Comfort and Ergonomics: Comfort is paramount. A screen that's too large can cause more eye and neck movement, while one that's too small may lead to squinting and leaning forward. I take the time to adjust my workspace ergonomics. If the display offers swivel and height adjustments, that's a significant plus.
Pixel Density (PPI): Higher PPI means sharper images. The 'Retina' rule of thumb suggests that at a distance where individual pixels are indiscernible, a display achieves optimal sharpness. For instance, a 218 PPI at 16 inches would be ideal, though this is typically only found on more premium models.
My current preference oscillates between 4K displays around 27 to 32 inches for a good balance of comfort and real estate. While they aren't cheap, they strike a middle ground where the need for scaling doesn't overly affect performance, and can be a smart investment if chosen wisely.
Drawbacks here include the need for scaling at high resolutions, which can affect performance based on the text scaling processes—though with my Mac Studio's hefty specs, this is less of an issue.
In the end, selecting the right monitor is a highly personal decision. Consider your specific needs, the type of work you do, and how long you're likely to spend gazing into those millions of pixels. Here’s a brief summary:
Consider higher resolution for crisp text and detailed work;
Choose a size that fits your desk space and viewing distance;
Opt for ultrawide or multiple monitors for extensive multitasking;
Make sure to adjust for comfort and ergonomics;
Aim for a high pixel density for optimal sharpness.
Remember, a monitor is a long-term partner for your eyes and productivity. It’s worth taking time to pair your Mac Studio with the best partner you can find... and afford.
Understanding Refresh Rates and When They Matter
Understanding different refresh rates can feel like a labyrinth, especially when plugging into a powerhouse like the Mac Studio. Let's sift through the murk together. Here's the lowdown:
60Hz is your standard fare and it works fine for general productivity tasks like coding or writing.
Step up to 144Hz and we enter a smoother realm, which mostly benefits gamers and folks into high-frame-rate video content.
Now, a common belief is that higher refresh rates are invariably better—buttery smooth cursor movements and reduced eye strain, they say. But here are some realities I've experienced:
Pros:
Higher refresh rates, such as 120Hz or 144Hz, do provide a perceptibly smoother experience. Scrolling through documents or swiping between desktops feels cleaner on the eyes.
For gaming or video editing, it's indisputable—high refresh rates are a game-changer.
Cons:
More refreshes per second can mean more work for your graphics hardware. This might not be much of an issue with the beefy Mac Studio but is worth considering.
The price can jump significantly for high-refresh-rate monitors. It's about striking the right balance between cost and benefit.
Not all content benefits from high refresh rates. If your work involves static images or text, the improvements might go unnoticed.
From my perspective, I focus on programming, where the difference between 60Hz and 144Hz isn't a day and night scenario. It's like insisting on a sports car for a city commute—nice, but not necessary. However, I've learned that once you experience higher refresh rates, it's tough to go back to standard 60Hz. It's more about personal comfort level and less about objective productivity gains.
One more thing—I've noticed macOS doesn't support all high-refresh-rate features out of the box like FreeSync or G-Sync. These are technologies that sync a monitor's refresh rate with the GPU's output for a smoother picture, usually in gaming scenarios. So, if you're deep in macOS country, there's less incentive to hunt for monitors with these specs.
In the never-ending quest for the perfect setup, I'd say you should definitely try out a high-refresh-rate display if you can. Maybe head to a store and see it in action. Sure, the Mac Studio will handle it, but do you need it? That's the crux of the matter. Like ordering a steak, it's about personal taste—whether you prefer it well-done or rare. Whatever your preference, make sure you're paying for what enhances your computing experience without overcooking your budget.
Budgeting for Quality without Breaking the Bank
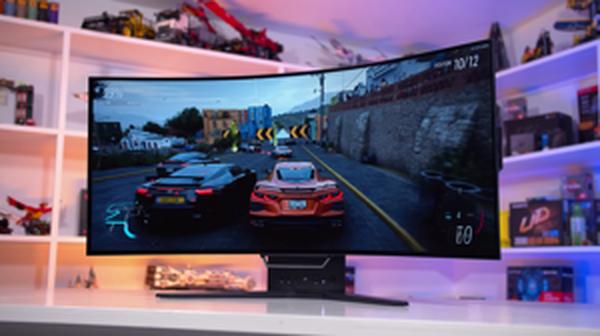
I've been on the hunt for the perfect monitor to pair with my new Mac Studio, and I must say, it's been a somewhat tumultuous journey. One thing I've learned along the way is the importance of balancing cost with quality. You see, while the hefty price tag of Apple's own monitors made them a non-starter for me, I also didn't want to skimp on a display that wouldn't do the Mac Studio's capabilities justice.
Here's a rundown of my key considerations:
Affordability: I needed a monitor (or monitors) that wouldn't blow my budget wide open. This meant looking at options under the $500 mark.
Quality: The monitor needed to have a resolution that made sense for my work, primarily programming, thus UHD (3840 x 2160) became a sweet spot.
Size: A 27-inch screen size was essential for comfortable viewing without dominating my workspace.
After extensive research, I stumbled upon offerings from brands such as Dell and LG that hit the right notes. For example, the Dell S2722QC provided a 27-inch 4K UHD experience at a price point that was palatable. However, I didn't ignore other important aspects such as color accuracy and port availability which, for a developer, aren't deal-breakers but nice-to-haves.
On the upside, monitors like these often come with a range of connectivity options, including USB-C, which ensures I can have a tidy desk setup with minimal cable clutter. Some might have concerns about refresh rates, but at a standard 60Hz, it's sufficient for coding and everyday tasks.
The drawbacks? Well, these budget-friendly monitors often lack the higher refresh rates and color fidelity of their pricier counterparts. Also, while the cost savings are significant up front, it’s worth considering longevity and how soon you might need or want to upgrade.
Admittedly, it can be tempting to try and future-proof the purchase by stretching to something more expensive. But for now, I am thinking practically. Will those extra features genuinely benefit my day-to-day work right now, or can they wait?
For me, the goal was clear - find the best marriage of price and performance, and I believe I've managed that with a monitor like the Dell S2722QC. While it may not boast the impressive specs of the Apple Studio Display, for a developer who spends hours staring at lines of code, it's indeed a worthy companion to a powerhouse like the Mac Studio.
Compatibility and Connectivity Options for the Mac Studio
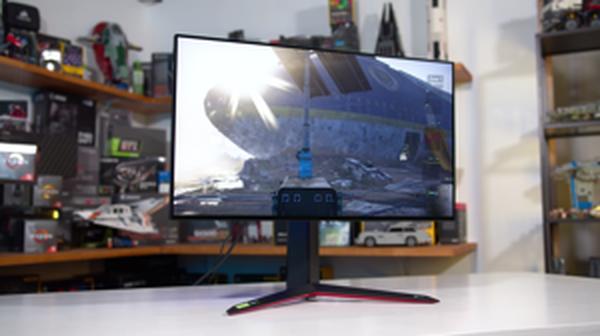
When selecting a monitor for my Mac Studio, I've found the range of compatibility and connectivity options to be surprisingly broad, yet there are a few quirks and considerations to be aware of. The Mac Studio, with its Thunderbolt 4 ports, offers flexibility but also demands attention to detail when it comes to choosing the right cables and monitors to match the capabilities of the machine.
Pros:
- The Thunderbolt 4 ports on the Mac Studio provide high bandwidth, allowing for 4K and even some 5K displays to operate with ease.
- You can daisy-chain multiple monitors if the monitors support it, which minimizes cable clutter.
- The inclusion of an HDMI port is a nod to versatility, permitting a connection to a broader range of displays, including those that might not have USB-C/Thunderbolt inputs.
Cons:
- Not every USB-C cable is created equal. Some may not support the full capabilities of Thunderbolt 4, leading to limited resolution or refresh rates.
- The need for adapters may arise, especially when dealing with monitors that require connections other than USB-C or HDMI.
I particularly appreciate the fact that the Thunderbolt 4 ports deliver power, video, and data all over a single cable, which works well for streamlined and modern monitor setups, such as the LG UltraFine series. However, I've also noticed that some non-Apple monitors might require specific drivers or software for full functionality, especially when dealing with features like brightness or volume control directly from the Mac Studio.
An important point to consider is the cable quality. Initially, I overlooked this and faced some connectivity issues. After some research, I discovered that investing in high-quality, certified Thunderbolt 4 or HDMI 2.1 cables is crucial for achieving the best display performance.
Another consideration is the power delivery. Some monitors can be powered directly by the Mac Studio's Thunderbolt ports, which is extremely convenient. Yet, this isn't uniform across all models, and you'll need to check the monitor specs to make sure it can charge or be charged if that's a feature you need.
For those, like me, who have an intricate setup with legacy devices, the HDMI and additional ports on the Mac Studio come in handy. You may still require adapters or docking stations, but it's manageable without significant detriment to the overall setup.
In terms of monitor choice, I leaned towards displays that are known for Mac compatibility, like certain models from Dell and LG, to avoid the guesswork. These typically support the correct color profiles and resolutions out of the box, which saves time and effort during the setup process.
Let's not forget about firmware updates, which can either be a blessing or a roadblock. Some monitors, like the Samsung M8, may require firmware updates for optimal performance with a Mac. This means keeping an eye on the manufacturer's website for software downloads, which adds an extra step but can greatly improve the experience.
In sum, while the Mac Studio's extensive connectivity options are largely plug-and-play, achieving the ideal setup sometimes calls for extra homework to ensure everything works seamlessly. With the right cables and monitors, however, the Mac Studio can anchor a powerful and elegant workspace.
Future-Proofing Your Monitor Investment
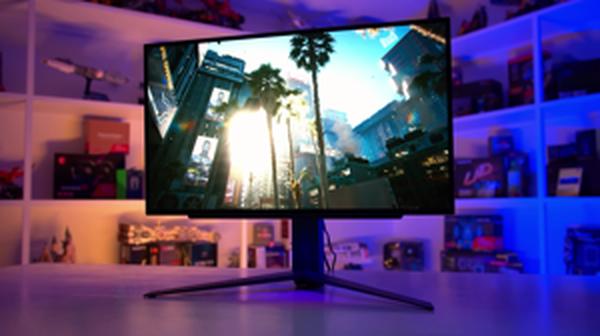
Investing in a monitor is a significant decision, especially when it’s for a powerhouse like the Mac Studio. In building my setup, I consider the future-proof aspects of a monitor just as critical as its current specs. Here's why:
Longevity: High-quality panels with future-ready features may have a higher initial cost but can last for years, reducing the need to upgrade frequently.
Resale Value: Monitors that keep pace with technology trends maintain their value better on the secondary market.
Compatibility: Ensuring a monitor has the latest connectivity options, like USB-C/Thunderbolt 3 or 4, can save on future costs and hassle.
These factors influence my purchasing choice as much as resolution or refresh rates do. However, it's important to recognize that future-proofing isn’t just about chasing the highest specs.
For example, while I'm tempted by ultra-high refresh rates, I remind myself that for programming and general productivity, anything over 60Hz is nice but not necessary. Future-proofing, in this case, might mean prioritizing features that will withstand the test of time, like color accuracy, ergonomic design, or a 4K UHD resolution that keeps text crisp regardless of OS advances or shifting design norms.
Here are a few key takeaways in my journey to future-proof my monitor purchase:
Panel Quality: Opting for IPS or OLED panels can offer better viewing angles and color consistency over time.
Adjustability: Features like height adjustment, tilt, and swivel can adapt to changing desk setups and ergonomic needs.
Warranty and Support: Brands with reliable customer service and longer warranties offer peace of mind, ensuring that the monitor is a lasting investment.
Eco-friendliness: Monitors with energy efficiency certifications like ENERGY STAR can save on electricity bills long-term.
However, there's no such thing as a perfect monitor that will meet future demands completely. New standards will emerge, and the bleeding edge of today is the baseline of tomorrow. Be aware of what features align with your needs, and which ones tip into the territory of diminishing returns. It's about striking a balance between what’s essential for your workflow today and what will likely benefit you in the future.
While technology marches inexorably forward, I've learned that investing wisely in a solid, well-rounded monitor means I can avoid the rush to upgrade with every new product cycle. It's future-proofing at a human pace – and that’s a race where I set the finish line.
Share